We weren’t on the street, but next to the sidewalk, under a pleasantly shady tree. The idea was to engage random passersby in the hand-papermaking process, while learning the basics of making paper.
The community engagement component was a bust. Nobody cared! However, I did learn a lot, and other aspects of the project were a great success, with much hope for the future.

The quick & dirty setup: folding tables, extension cord, hose, blender, tote, buckets, wool felts (old army blankets), a mold & deckle.
")
")
")
")
Hand-stitched watermark
")
")
Our first batch of paper was made on the fly, with recycled cotton paper scraps and Stinging Nettle fiber from my yard on Lopez. You can see how bumpy and ‘organic’ it is. It’s pretty, but my goal is to make strong, smooth paper you can draw or print.
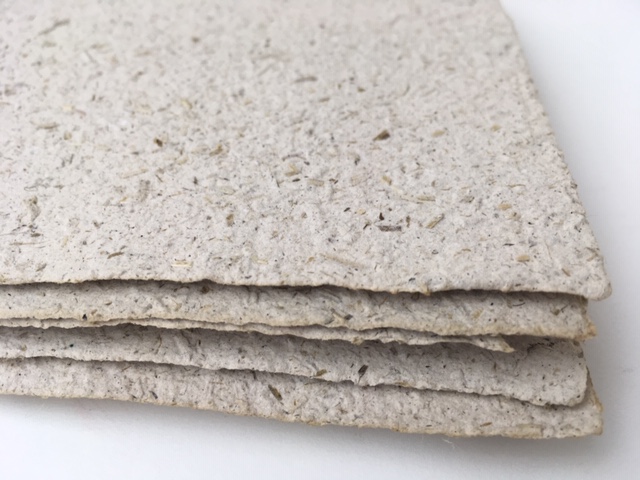
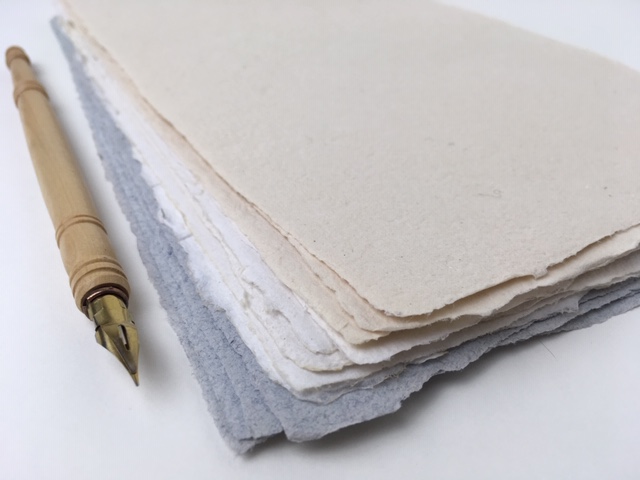
Getting more refined as the Summer progressed, I ended up with a pretty good stack of backyard blender paper with about 75% recycled cotton content. The biggest surprise: how much work it takes to get it dry! In general, it’s so much work for the pile at the end. I never made more than 25 sheets in a day.
I have a line on a Hollander beater that I can pay for with some garden work trade, but it’s going to take a while. I’ll also need a real ‘laid’ metal mold & deckle in a larger size. Of course, my long term goal is to practice, learn and teach papermaking (and marbling), printing and bookbinding in one building. My eventual goal is to buy a cool old building someplace in the Skagit Valley; maybe in La Conner, maybe elsewhere. Want to help? Let’s talk.
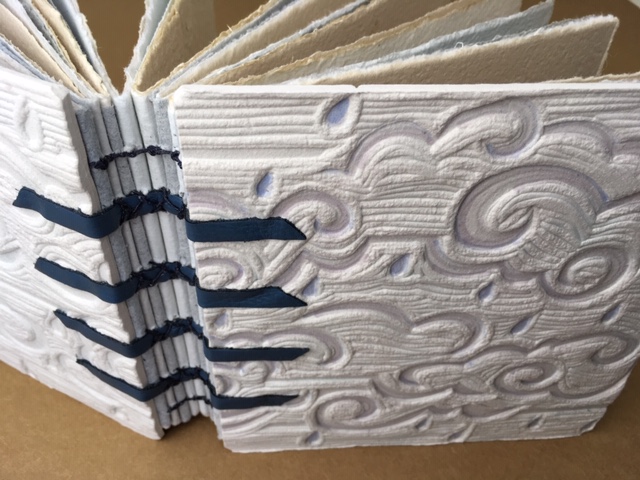
My favorite experiment involved embossing paper. These were pressed on my own large, hand-carved printing blocks, under weight, while the paper dried.
")


")

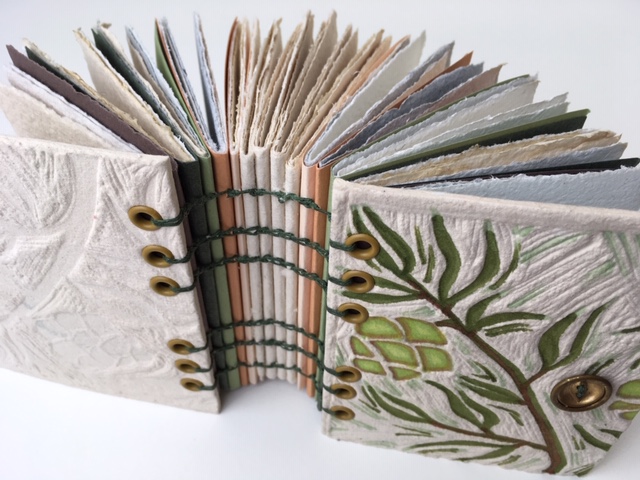
Here are 2 small books I’ve made using my embossed and hand-colored papers.
Thanks for reading! Come see me in La Conner sometime. Cheers, Brenna

Leave a comment